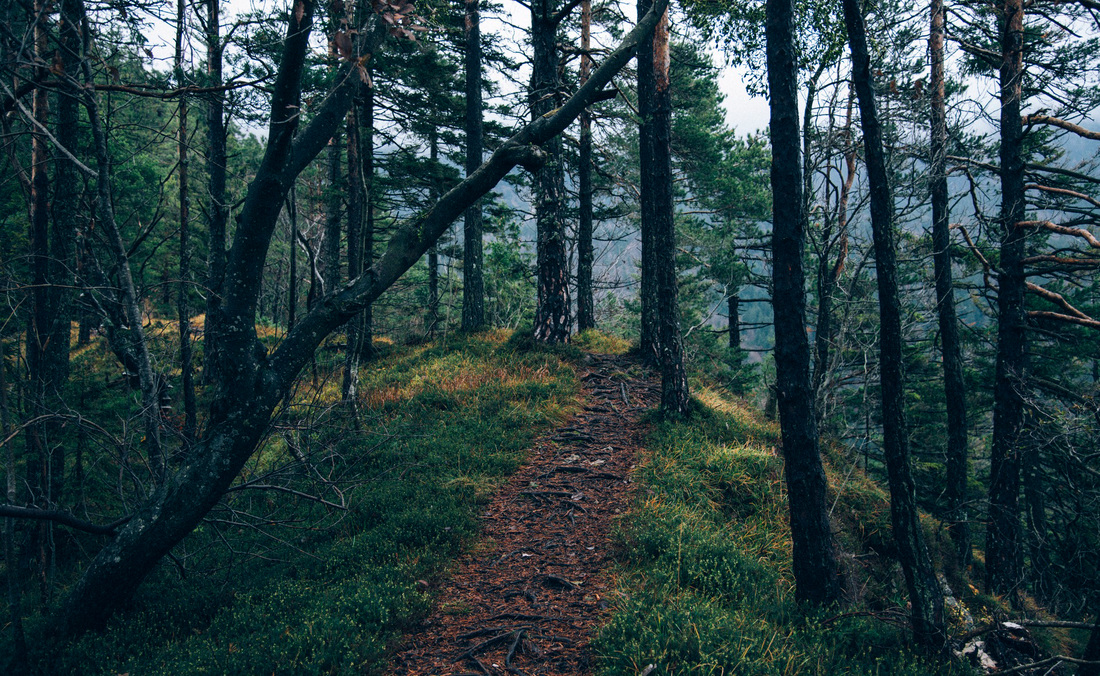
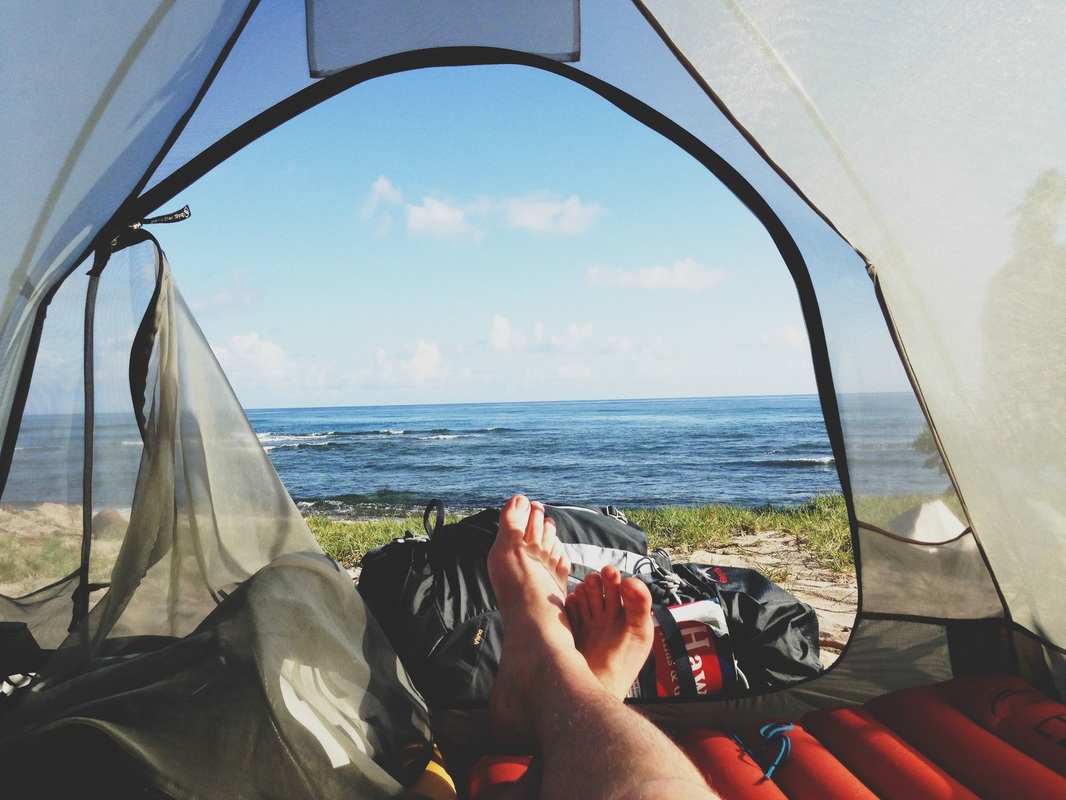
I'm James. This is my year of travel.

 
Confirm the selection and enjoy the tool.A dialog window will open where you'll need to navigate to the folder with your skies and choose the one you need.Scroll down the All Skies section and click the +button.In the right Tools panel, choose SkyAI > Sky Selection.In the top-bar menu, select the Edit tab.Load a picture with the sky that you want to replace in Luminar.zip file to select Extract All, and then follow the instructions. On Mac, simply double-click the zipped file. In the window that opens, navigate to the folder where the downloaded Preset Collection file(.lnpc) is located and select it.Īlternatively, you can add a Custom Luminar Neo Preset Collection from the Presets tab by clicking on + Add on the Purchased button on the Presets panel or at the top of the Purchased Presets section.įirst of all, please unzip the downloaded pack. In the top bar menu, click File > Add Luminar Neo Preset Collection. In the window that opens, navigate to the folder where the downloaded Preset Collection file(.lnpc) is located and select itĭone! The new preset pack will appear in the Presets tab > Purchased Installing a Preset Collection is simple.Ĭlick Luminar Neo > File > Add Luminar Neo Preset Collection Preset Collections for Luminar Neo have a. Here's a quick guide on how to install Preset Collections in Luminar Neo.
0 Comments
Leave a Reply. |
AuthorWrite something about yourself. No need to be fancy, just an overview. ArchivesCategories |
 RSS Feed
